Spooky Spider Hat
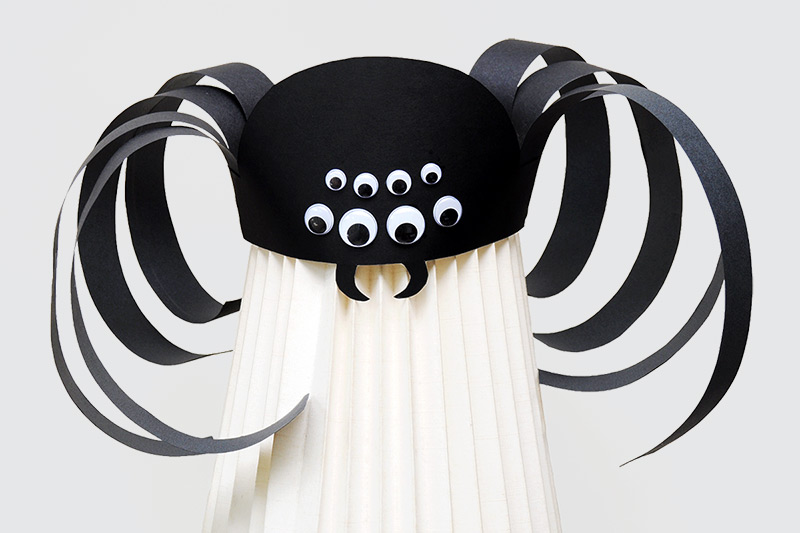
Create an awesomefully spooky spider hat out of construction paper and some wiggly eyes.
Supplies Needed
- Black construction paper (12" x 18", two sheets)
- A4 or Letter size paper
- Wiggle eyes
- Scissors
- White glue
- Pencil
STEPS
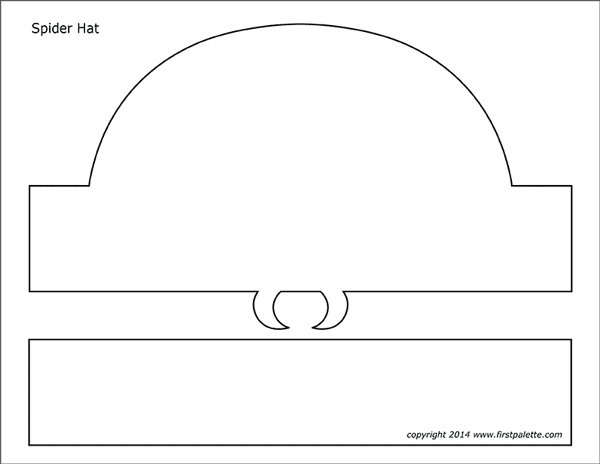
1 Print out the template.
Print out this spider hat template on A4 or Letter size paper.
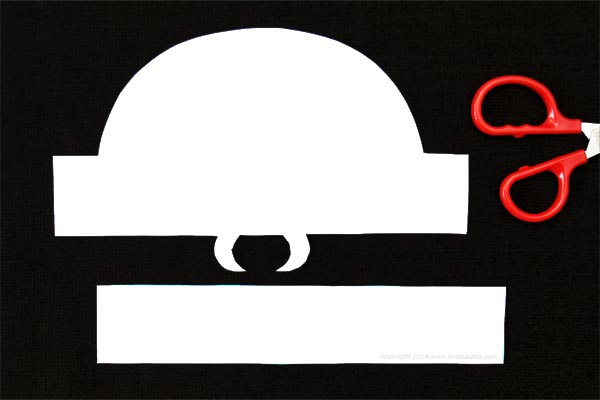
2 Cut out the template.
Cut out the two template pieces.
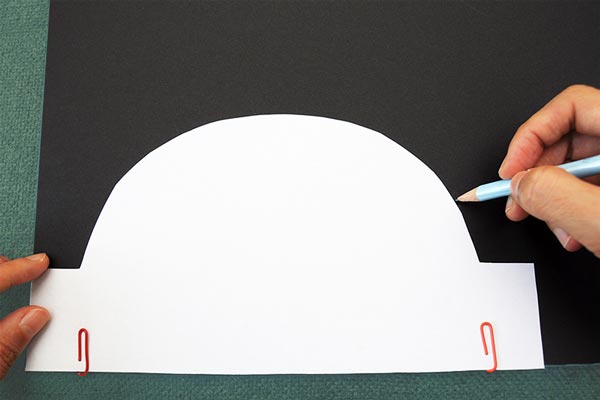
3 Create the hat's front piece.
Take the main template and place it over a sheet of black construction paper. You can hold the template in place with paper clips.
Use a pencil to trace the outline of the template on the construction paper.
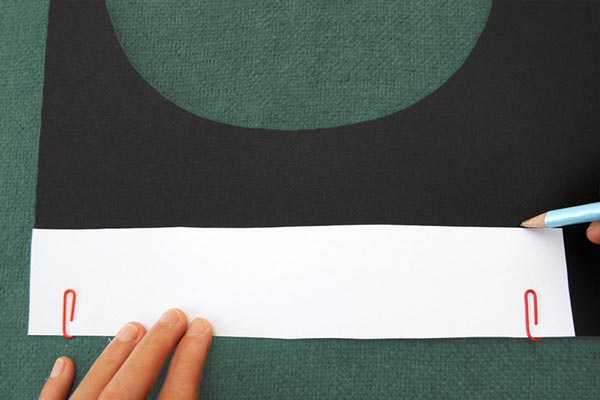
4 Make the hat's side bands.
Create a pair of bands that will go around your head using the straight template. Place the template on the black construction paper and trace around it with a pencil. Repeat to create a pair of bands.

5 Cut them out.
Cut out all three construction paper hat parts—the main piece as well as the pair of bands..
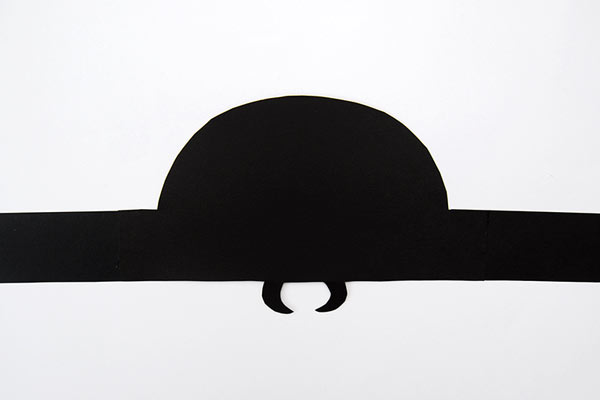
6 Glue the pieces together.
Glue one band behind the main hat's left corner and the other band behind the right corner.
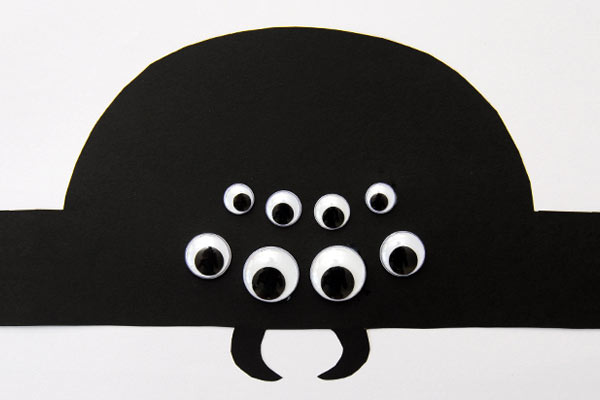
7 Create eyes.
Glue two or more wiggle eyes. The more eyes you add, the spookier your spider hat will look!
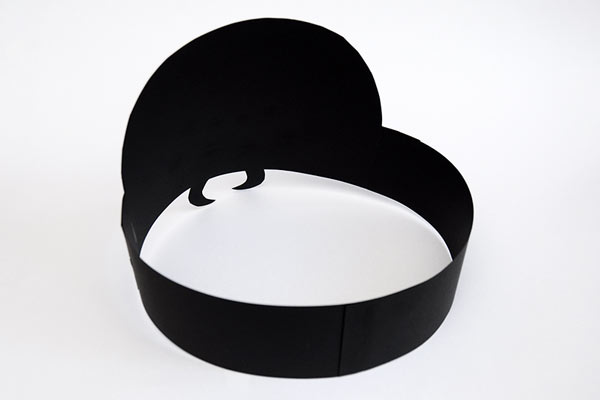
8 Glue the ends together.
Measure the hat around your head. Trim the ends to achieve the right length before gluing or taping the ends of the bands together.
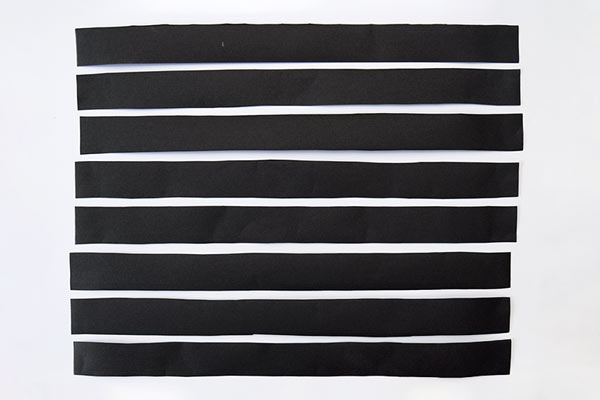
9 Create the spider's legs.
Divide a 12" x 18" sheet of black construction paper into eight strips, each one measuring 1½" x 18".
You can trim down the length to as short as 12 inches, depending on how long you want the legs to be.
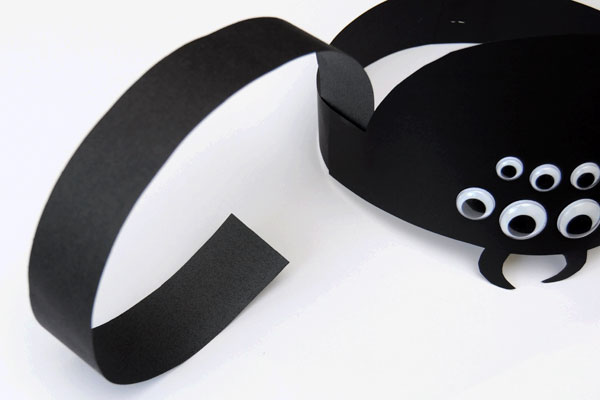
10 Attach the first leg.
Glue or tape one end of a spider leg on the inside of the band, close to the spider body's bottom corner.
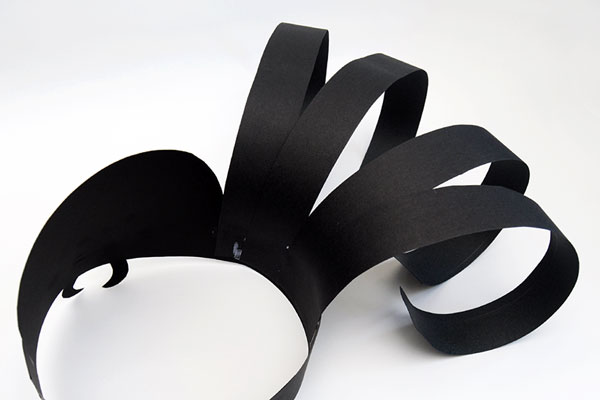
11 Add three more legs.
Glue or tape three more legs, each new strip slightly overlapping the previous one.
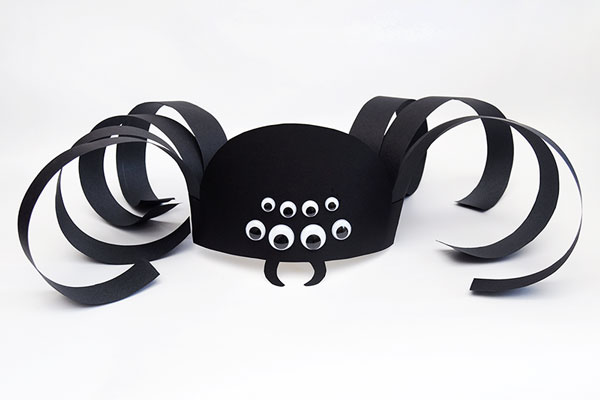
12 Glue the rest of the legs.
Similarly glue or tape the four remaining legs on the opposite side of the hat to complete the spider's eight legs.
Once the glue dries, try on the hat. You can further trim the legs to your preferred length.
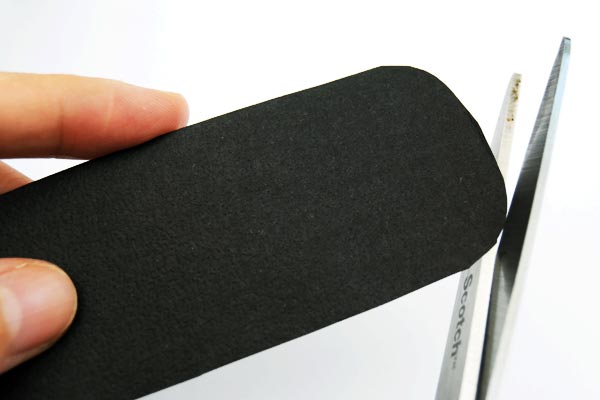
13 Round out the corners.
Round out the corners at the tip of each leg.
14 Wear the hat!
Wear your spook-tacular spider hat for Halloween or anytime you want to give your friends a good scare.