3D Paper Snowflake
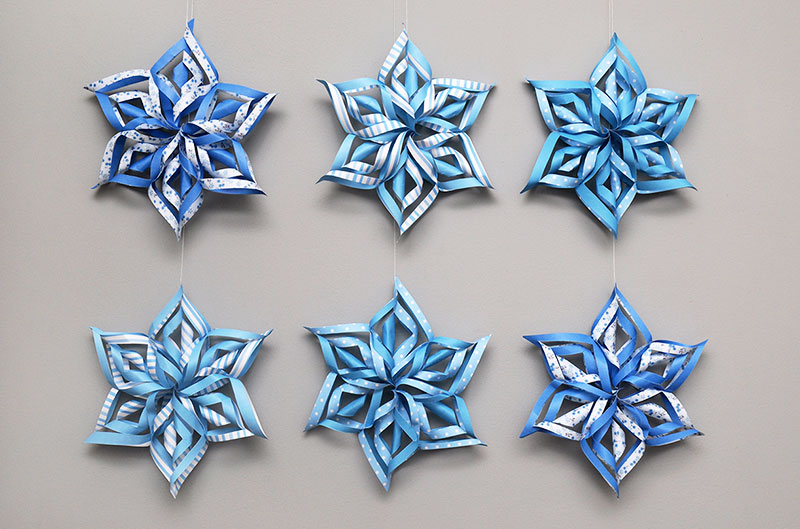
Fold and cut paper into amazing three-dimensional snowflakes. Our instructions include crafting these snowflakes with and without using printable templates.
Supplies Needed
- White, blue, or silver paper
- Scissors
- Glue
- Pencil
- Thread or thin string
STEPS
Method 1: Making a 3D Snowflake Without a Template
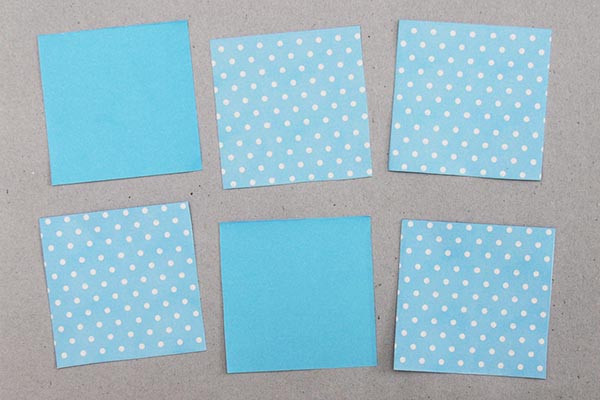
1 Make 6 identical squares.
Prepare 6 squares of equal size using blue, white, or silver plain or patterned paper. As a size guide, our printable templates come in 7.5-inch, 9-inch, and 10-inch sizes—use those as a reference for deciding how big you want your snowflake to be, or cut your own squares to any size you like.
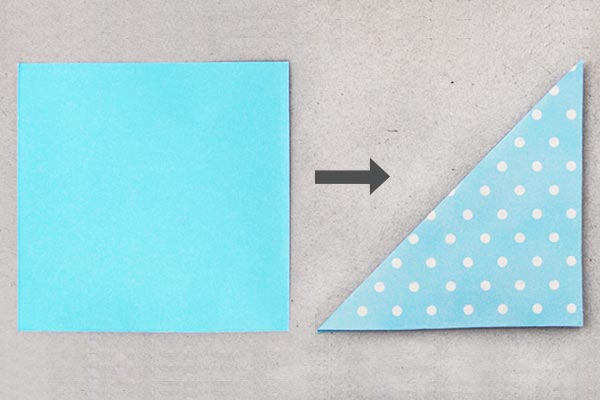
2 Fold the square in half.
Take one of the six squares. Fold it diagonally in half to come up with a triangle.
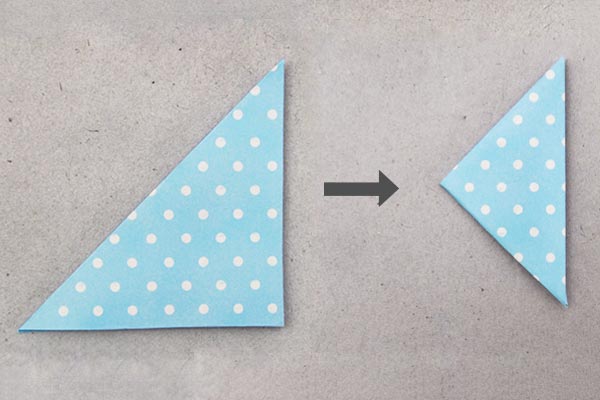
3 Fold the triangle in half.
Fold the resulting triangle in half to come up with a smaller triangle.
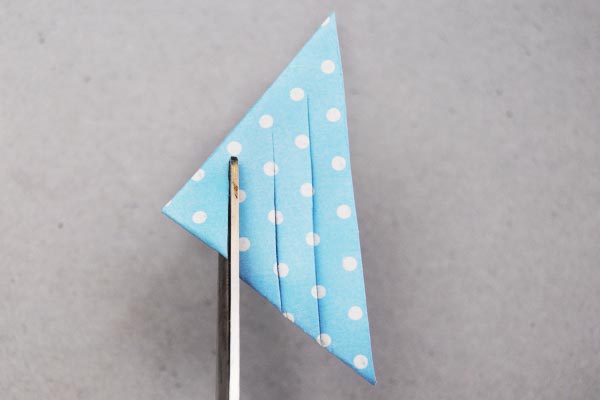
4 Make three slits.
Make 3 equally spaced vertical slits on one short side of the folded triangle. Stop cutting before reaching the opposite short side. It's easy to make the slits equally spaced even without measuring with a ruler by doing the middle slit first.
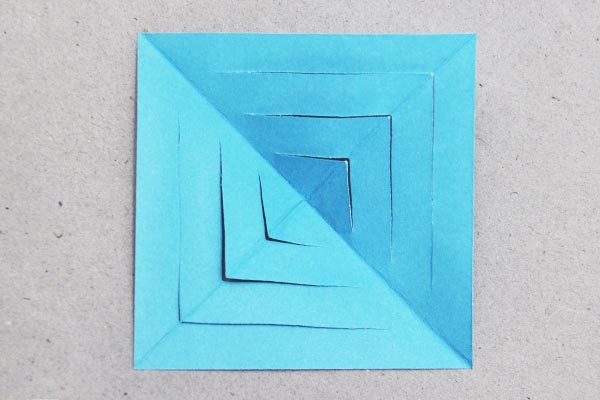
5 Unfold the paper.
Carefully unfold the paper. The square will have three pairs of concentric slits.
6 Glue the inner flaps together.
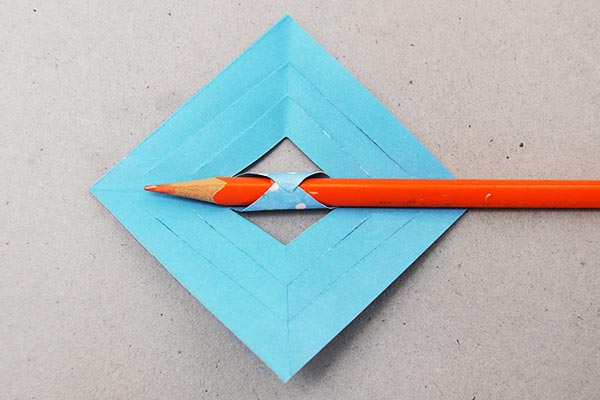
Rotate the square so that it forms a diamond shape. Glue the innermost pair of flaps together by the tips. You can use a pencil to bring the pair of flaps together if your square is small. Press the tips for a few seconds to glue the paper in place.
7 Flip the paper.
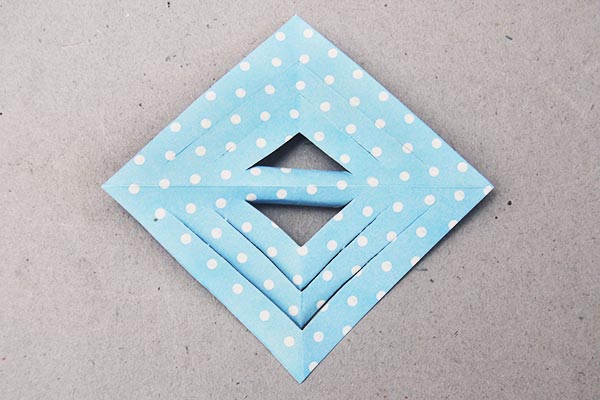
Flip the square over so that the paper's opposite side is facing you.
8 Glue the second pair of flaps.
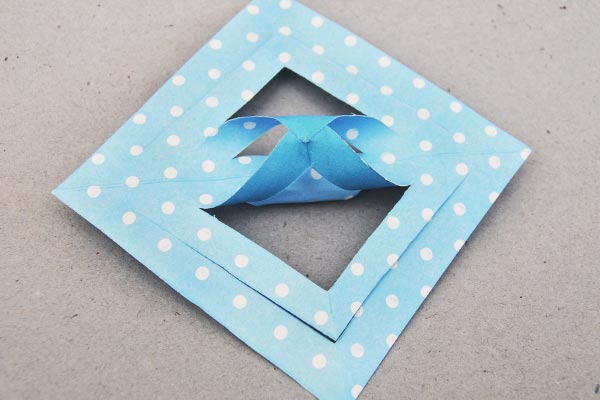
Glue the second pair of flaps together by the tips. Press for a few seconds to glue in place.
9 Glue the third pair of flaps.
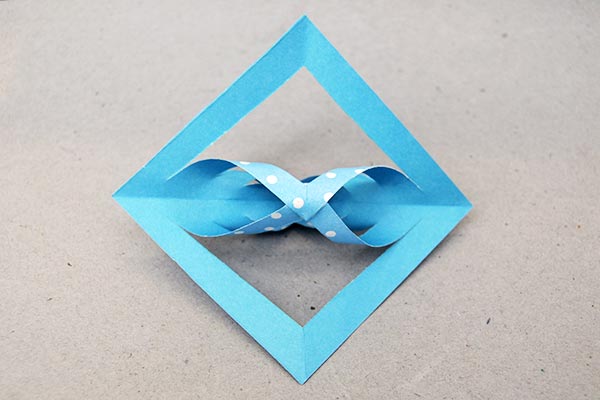
Turn the paper over again. Glue the third pair of flaps by the tips.
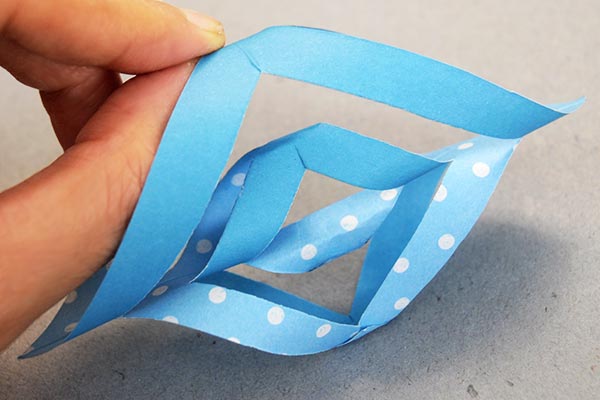
10 Glue the outer flaps together.
Turn the paper over for the last time. Glue the outermost pair of flaps by the tips. You have just finished making one of the snowflake's arms.
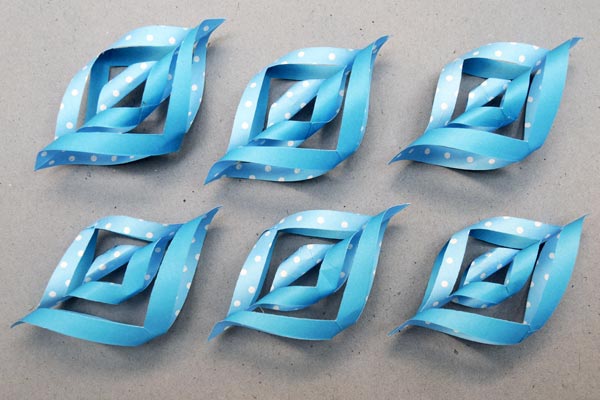
11 Create more snowflake arms.
Transform each of the five remaining squares into snowflake arms following Steps 2 to 10.
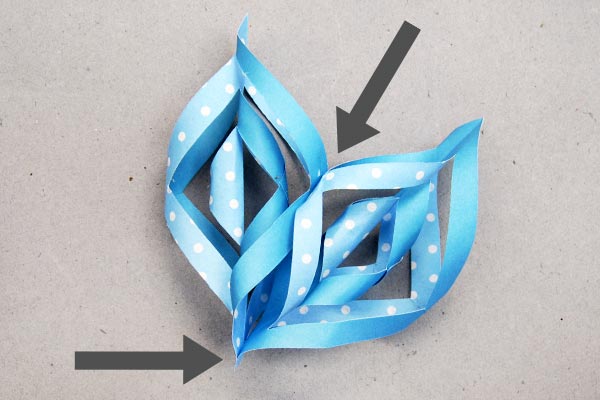
12 Glue 2 snowflake arms together.
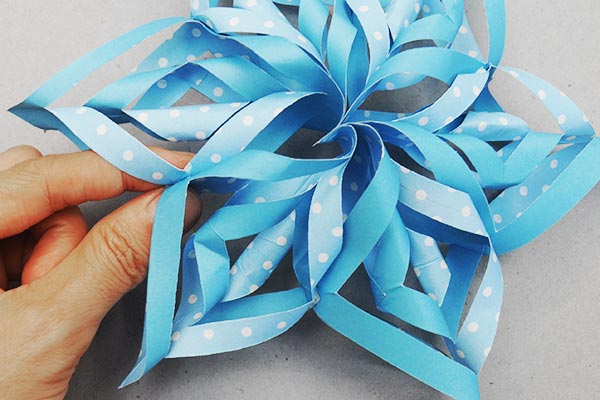
Start assembling the snowflake by gluing two snowflake arms together. Glue them at the bottom and at the middle where the two arms touch, as indicated by the arrows in the photo. Press on these two points for a few seconds to glue in place.
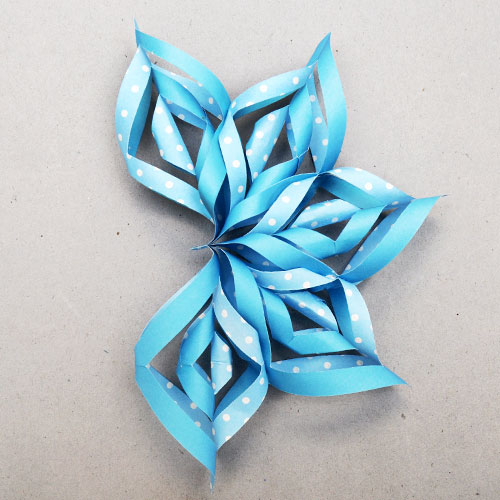
13 Add more snowflake arms.
Continue adding the rest of the snowflake arms one at a time. Just like the first two, glue them at the bottom and at the middle.
14 Glue the first and last arms.
After you've positioned the last snowflake arm, glue its middle point with that of the first snowflake.
Method 2: Making a 3D Snowflake Using a Template
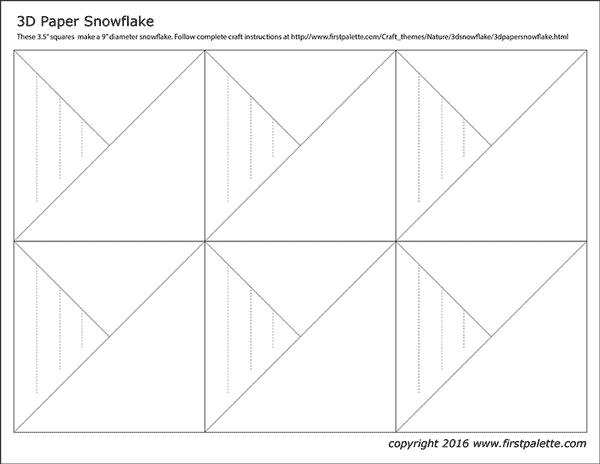
1 Print out the template.
Choose from any of these 3D Snowflake templates. Print out the file on A4 or Letter size white or blue paper.
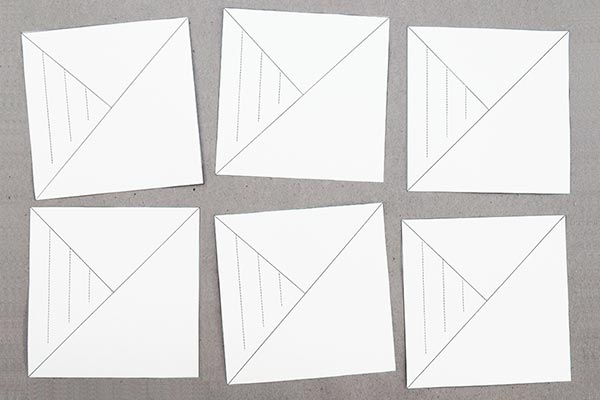
2 Cut out the template.
Cut out the six squares.
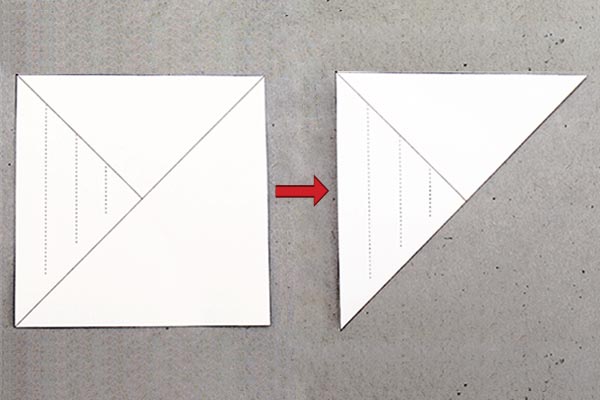
3 Fold the square in half.
Take one of the six squares. Fold the square along the diagonal line to come up with a triangle.
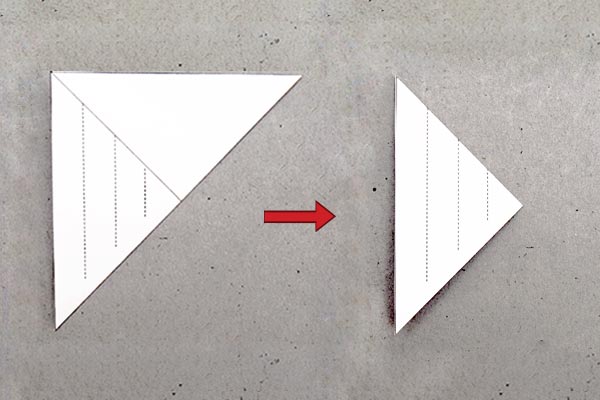
4 Fold the triangle in half.
Fold the triangle in half along the solid line to come up with a smaller triangle.
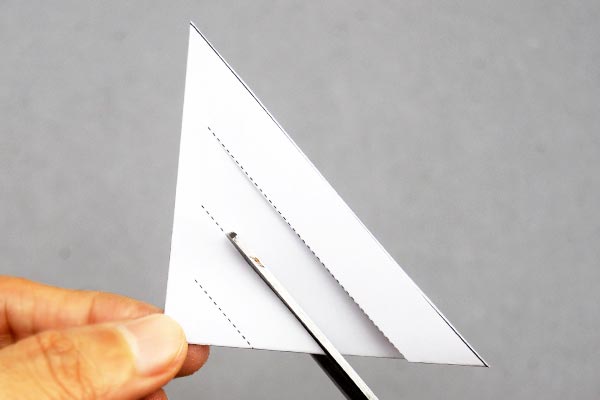
5 Cut three slits.
While keeping the paper folded, cut slits following the three dotted lines.
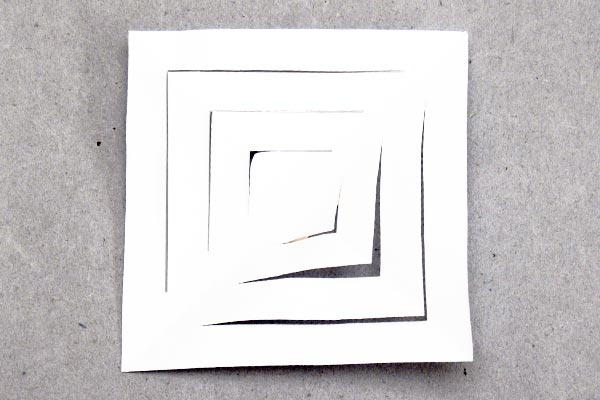
6 Unfold the paper.
Carefully unfold the paper. The square will have three pairs of concentric slits. Fold and cut the five other squares following Steps 3 to 6.
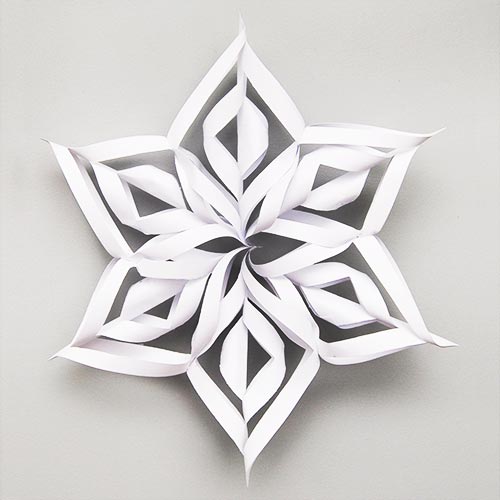
7 Assemble the snowflake.
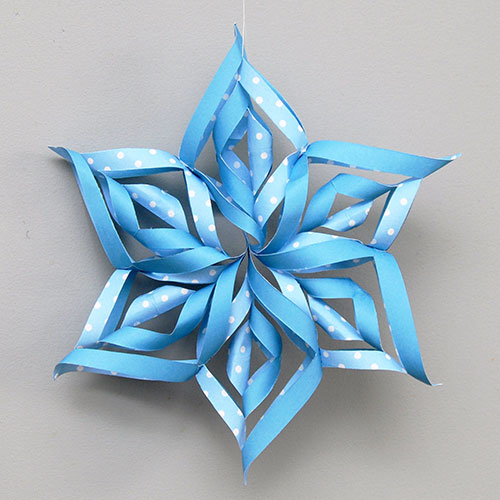
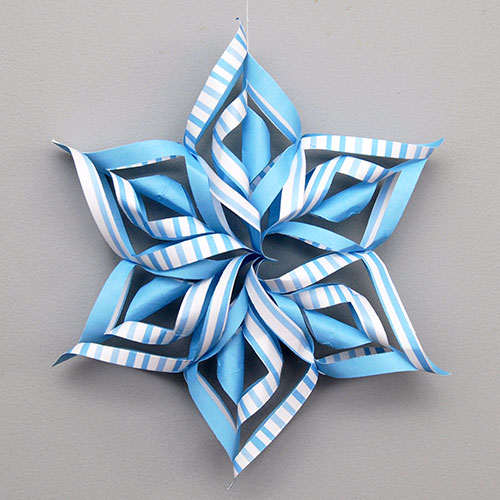
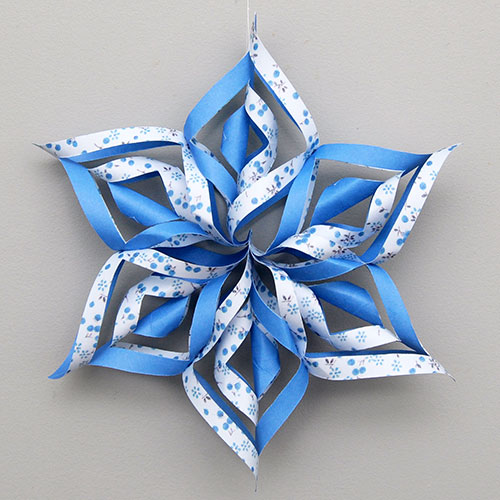
Follow Steps 6 to 15 in the previous section (Making a 3D Snowflake without a Template) to complete your 3D Snowflake.