Paper Snowflake
Follow our easy instructions for folding and cutting paper into beautiful and unique paper snowflakes.
Supplies Needed
- Paper (preferably thin or lightweight paper)
- Scissors
- Protractor (optional)
STEPS

1 Make a paper square.
Start out with a square piece of paper, preferably thin or lightweight paper. You can use square origami paper or follow these easy steps for making a square from any rectangular piece of paper.
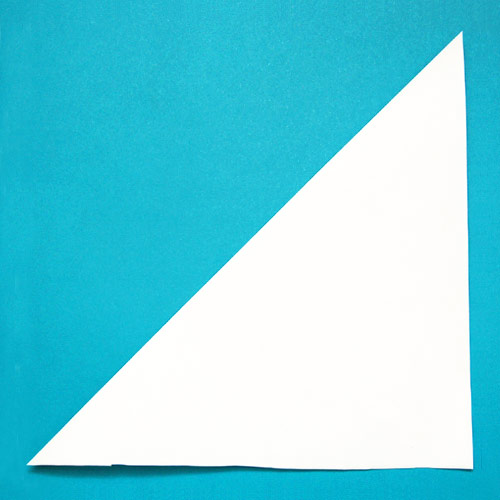
2 Fold diagonally in half.
Fold the square diagonally in half to come up with a triangle.
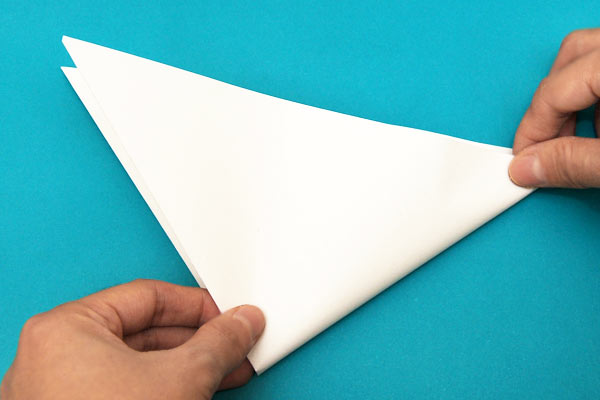
3 Fold in half.
Fold the resulting triangle in half to make a smaller triangle.
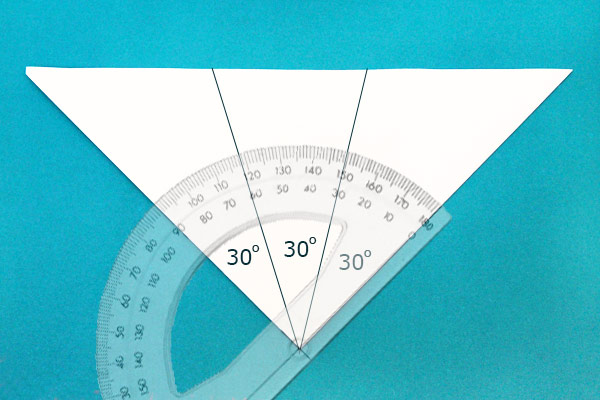
4 Divide the triangle into 3 sections.
The most crucial and perhaps the trickiest step in making a paper snowflake is dividing the triangle into three equal sections. The most accurate way to do this is to use a protractor to divide the angle at the triangle's apex (the corner opposite the longest side) into three sections, each with a 30-degree angle. If you don't have a protractor, you can estimate the size of the sections as you do Steps 5 and 6.
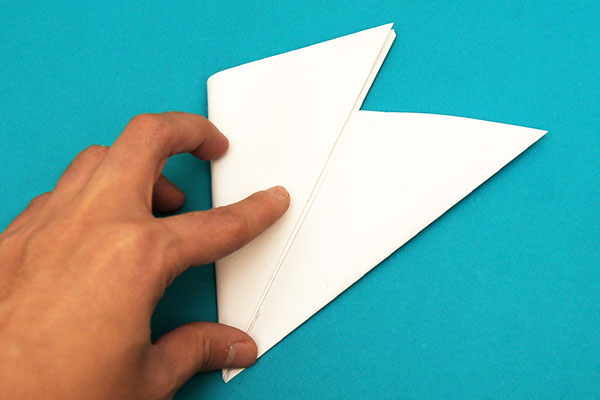
5 Fold the left section.
Once you've marked out the three equal sections, fold the left section towards the front.
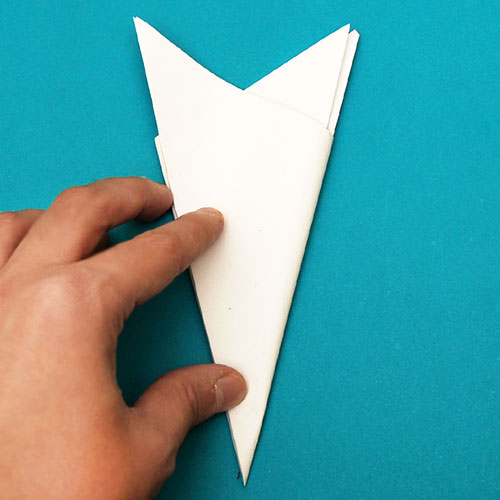
6 Fold the right section.
Similarly fold the right section towards the front.
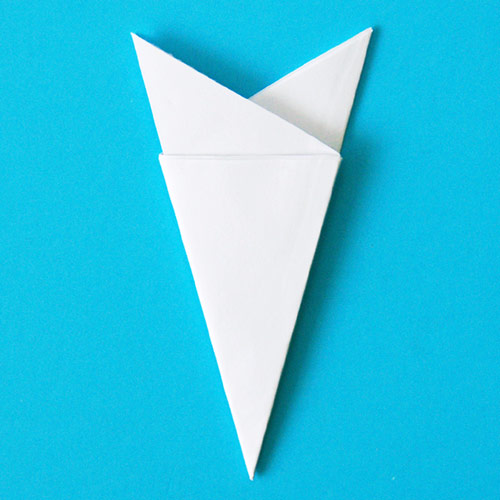
7 Flip the shape.
Flip the shape over so that the side with the horizontal edge is facing front.
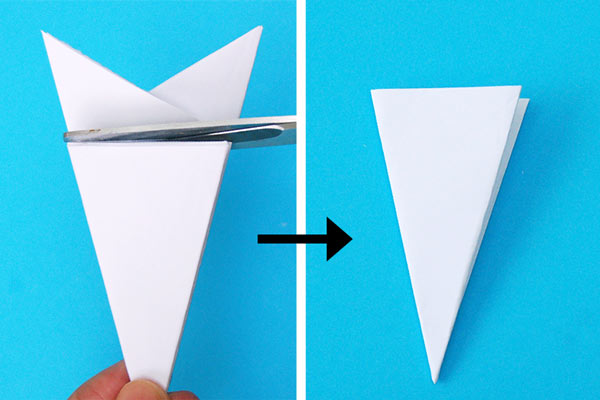
8 Cut along the horizontal edge.
Cut along the horizontal edge so that you end up with a wedge.
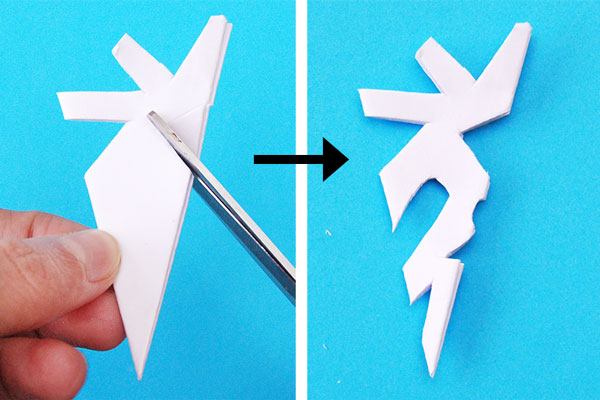
9 Cut random shapes.
While keeping the wedge folded, cut out random shapes out of the edges.
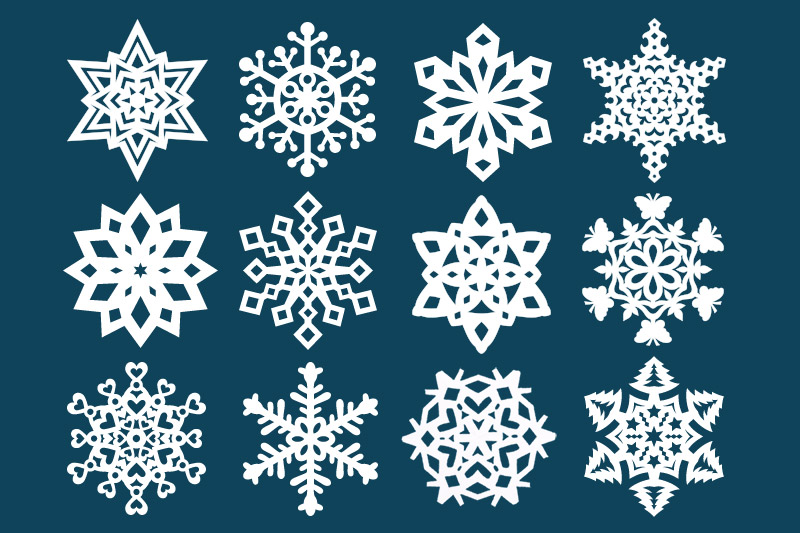
If you're looking for printable ready-to-cut snowflake patterns, you can find them here.
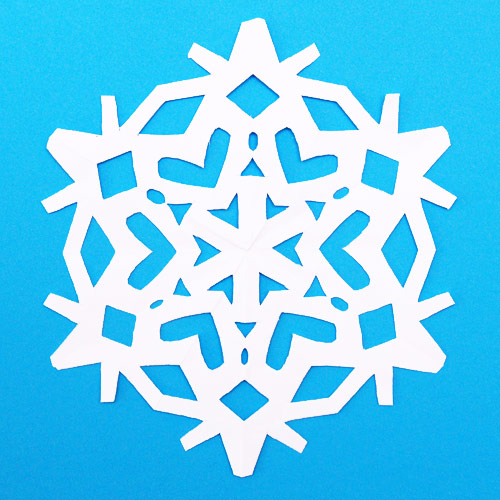
10 Unfold the paper.
Carefully unfold the paper to reveal your paper snowflake. Like real snowflakes, your paper snowflake has a 6-point or six-sided symmetry.
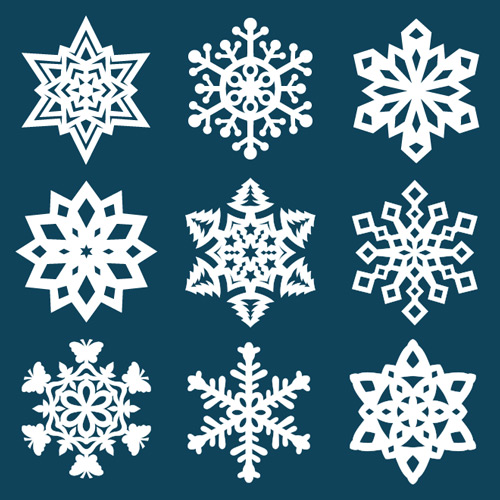
11 Make more snowflakes.
In nature, no two snowflakes are exactly the same. Try making different shape cut-outs in Step 9 to come up with your own unique snowflakes.
Check out more paper snowflake instructions for: 4- and 8-Sided Snowflake—though real snowflakes have 6 sides or points, try making 4- and 8-sided paper snowflakes just for fun! Or check out our Paper Snowflakes with Printable Patterns, eleven templates that you can print out and easily cut and fold into beautiful paper snowflakes.
More Ideas
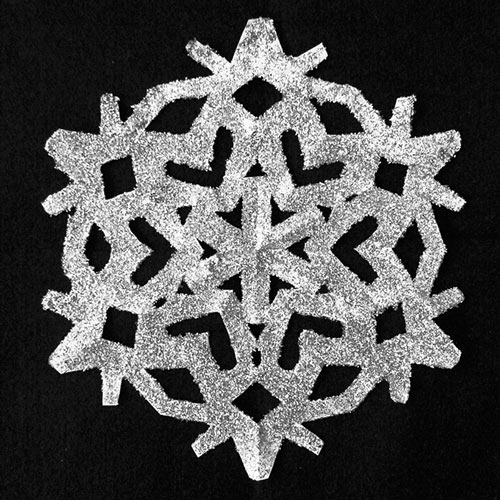
Make glitter snowflakes.
Make your paper snowflakes extra sparkly by embellishing them with glitter. See how it's done in our Glitter Snowflake craft.