Cotton Bunny
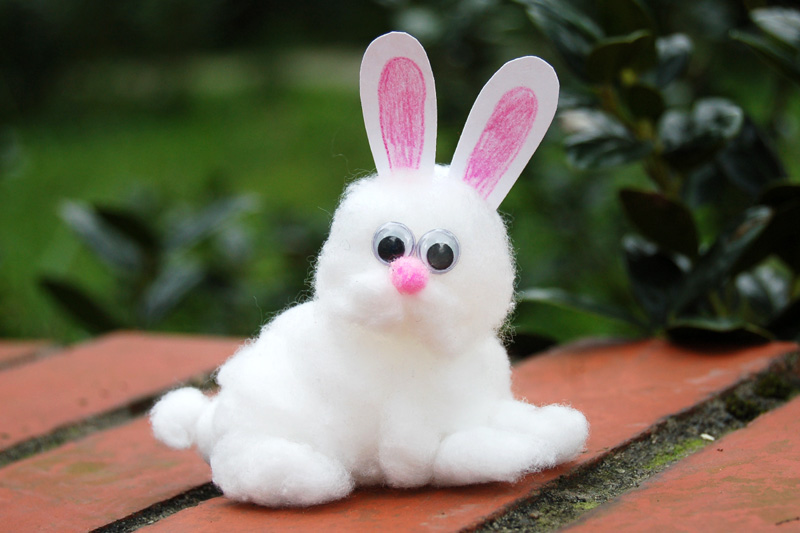
Grab some cotton and create an adorable fluffy little bunny.
Supplies Needed
- Cotton
- White cardstock or construction paper
- Wiggle eyes or small buttons
- Small pompom or bead
- Pink crayon or colored pencil
- White glue
- Scissors
STEPS
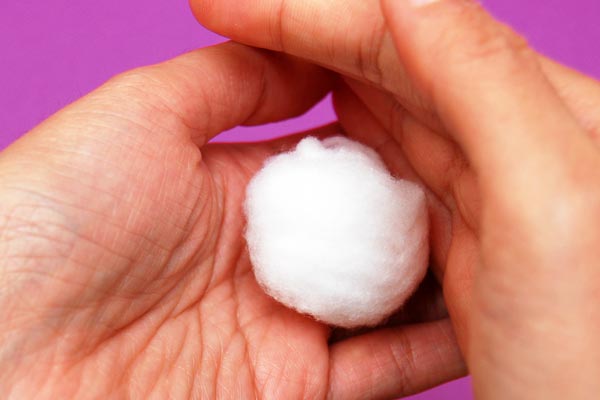
1 Make the bunny's head.
Roll a chunk of cotton into a ball to make the bunny's head.

2 Make a pair of ears.
Cut out a pair of bunny ears from white cardstock or construction paper. Draw a long oval at the center of each ear and color it in.
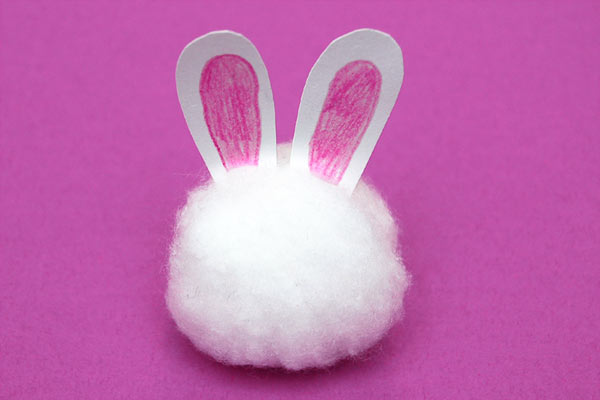
3 Glue the ears.
Glue the ears on top of the bunny's head.
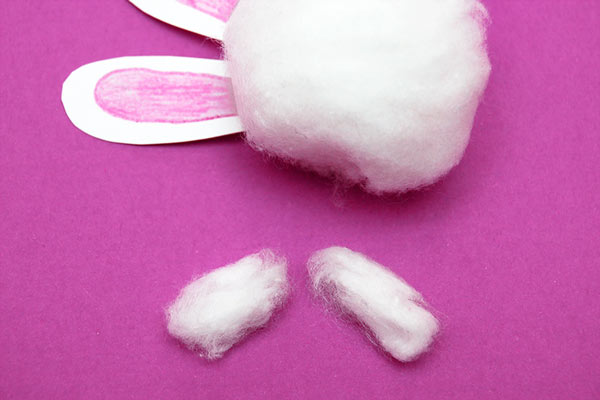
4 Make two small cotton ovals.
To make the bunny's snout fluffier, form cotton wisps into a pair of small oval shapes.
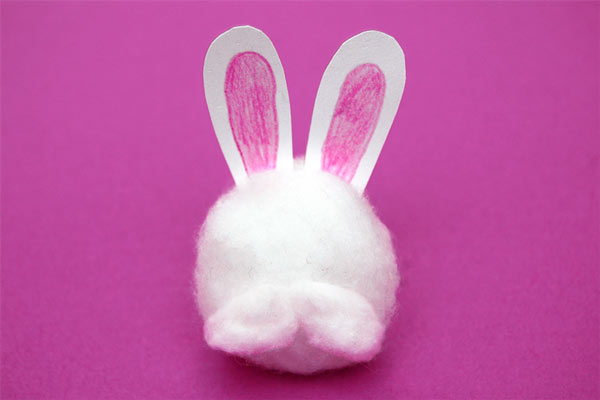
5 Glue the cotton ovals.
Glue the pair of cotton ovals at the bottom part of the bunny's face.
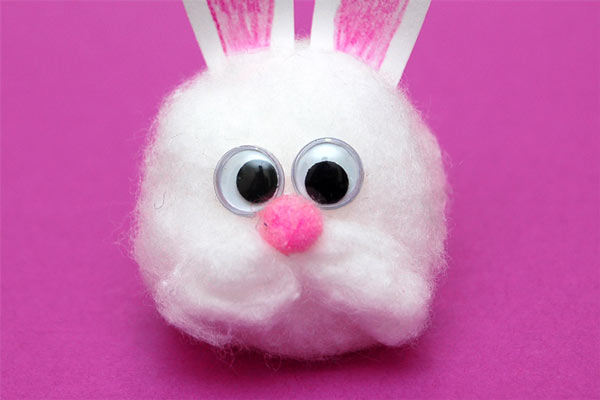
6 Add eyes and a nose.
Glue a pair of eyes and a fluffy nose. Some materials you can use are listed below.
Eyes - wiggle eyes, small buttons, beads, paper or felt circles
Nose - small pompom, round bead, button, paper rolled into a tiny ball
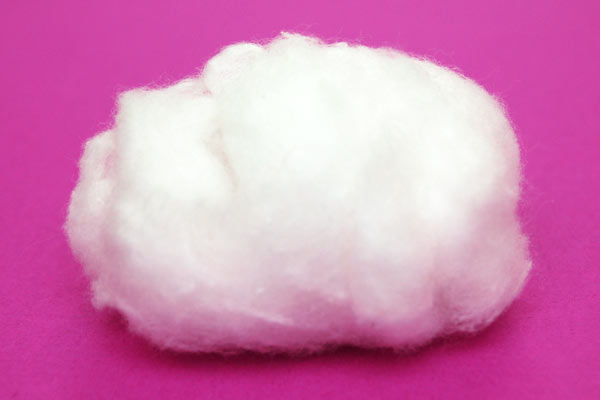
7 Make the cotton body.
Create the body by taking a chunk of cotton at least three times larger than the one you used for the bunny's head. Form the cotton into a cloud or oval shape.
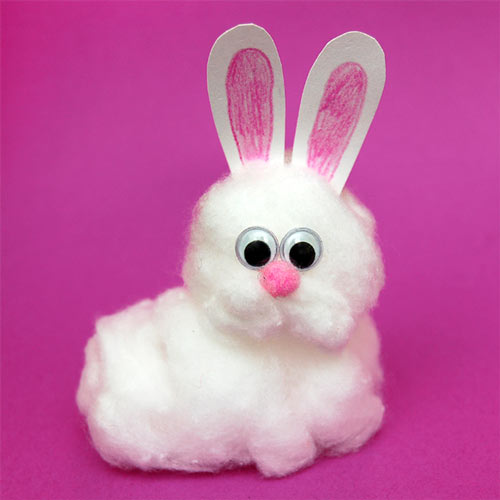
8 Join the head and body.
Glue the head onto the body.
9 Create a tail.
Create a fluffy bunny tail by rolling a tiny piece of cotton into a ball. Glue this behind the body.
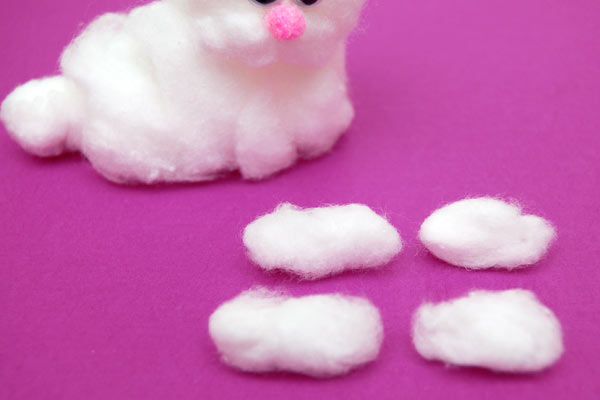
10 Make the bunny's legs.
Form cotton into 4 sausage-shaped pieces to make the bunny's legs.
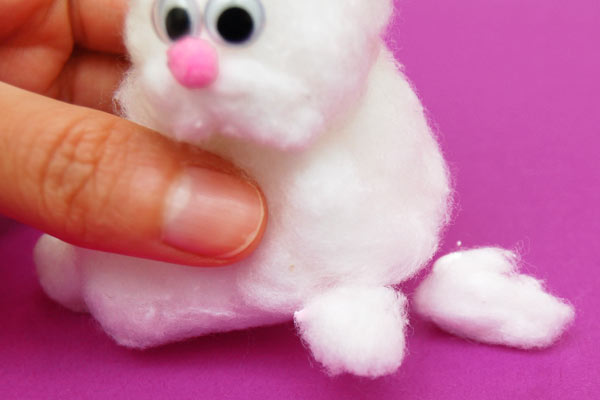
11 Glue the legs.
Lift the bunny and glue the sausage-shaped cotton pieces under the body—a pair in front to make the front legs and a pair at the back for the hind legs.
12 Make the bunny's legs.
Let the glue dry completely. This fluffy bunny would make an adorable companion while reading a favorite bunny or Easter story.
Because this cotton critter is a bit fragile, you can place it inside a small basket or an egg carton section for lots of hours of fun and play!