Tall Cone Hat
Learn how to make a tall and slim cone hat such as a princess cone hat or a wizard's hat.

Supplies Needed
- Construction paper (12" x 18")
- Scissors
- String
- Pencil
- Masking tape
- Ruler
- White glue
- Stapler
STEPS
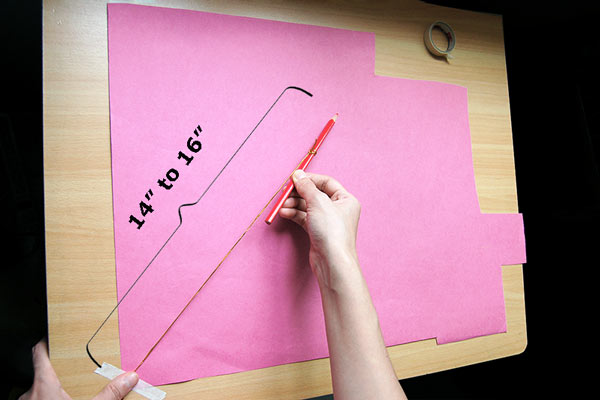
1 Create a large compass.
Tie the end of a piece of string around the middle of a pencil. Make sure that the other end of the string all the way to the tip of the pencil is at least 14 to 16 inches long. (Use a longer string if you need a larger cone hat.)
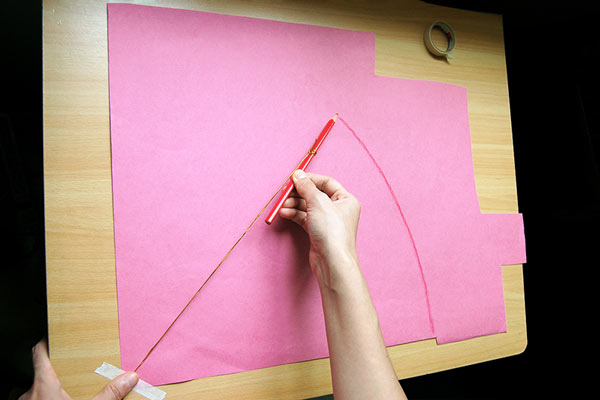
2 Draw an arc.
Use tape or your thumb to keep the free end of the string on the corner of your construction paper. While pulling tightly, draw an arc from one edge of the paper to the adjacent edge, forming a quarter circle.
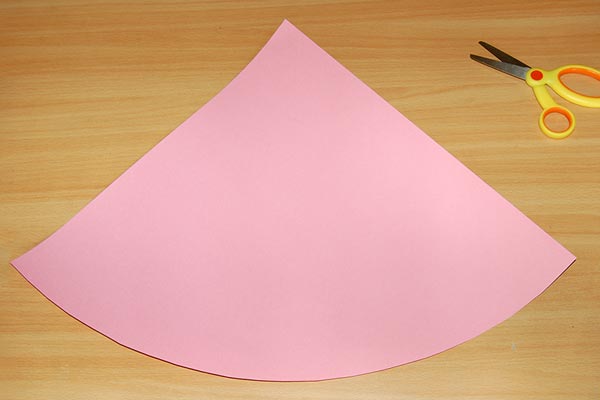
3 Cut along the arc.
Cut the paper along the arc. Position the quarter circle so that the arc is at the bottom and the tip is on top.
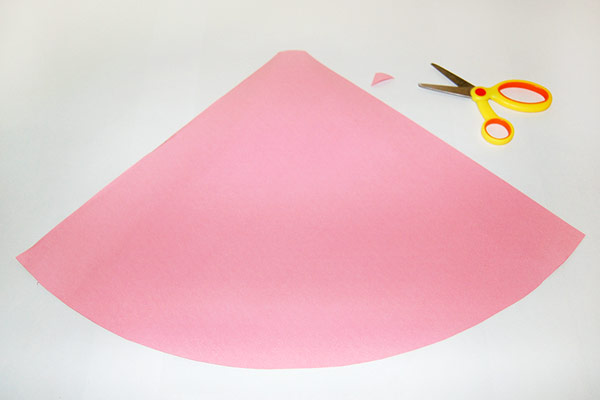
4 Trim the tip.
If you want to add some decorations at the top of your cone hat (e.g. streamers or veil for a princess cone hat), trim a little bit off the tip.
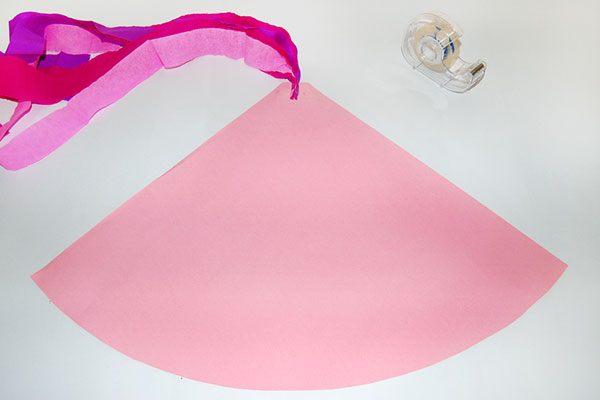
5 Tape the decorations.
Gather your decorations together (e.g. several strips of crepe paper) on one end. Tape this end onto the tip of your quarter circle.

6 Form a cone.
Roll the quarter circle into a cone, making the base as broad as the paper will allow. Staple at the base. Try on the hat. If the hat is too big, remove the staple and re-adjust the cone's base to fit on your head. Staple it when you get a comfortable fit.

7 Glue the seams.
Apply white glue along the seams.
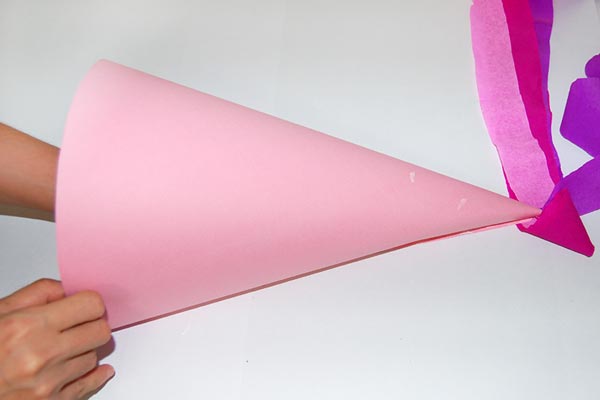
8 Press at the seams.
Press along the seams from the inside of the cone to glue it in place.
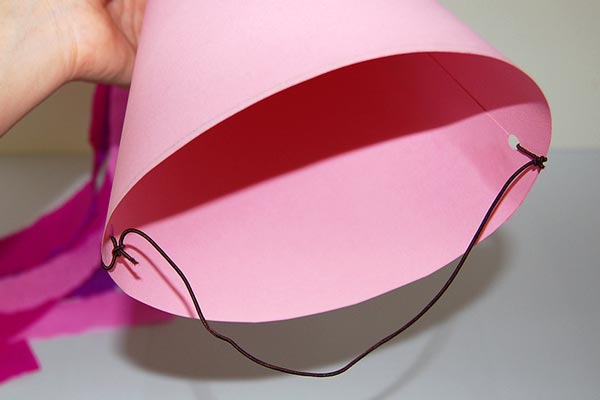
9 Add a chin strap.
You can add a chin strap to secure the hat on your head. Once the glue dries on your hat, punch a pair of opposite holes along the base of the hat. Tie the ends of an elastic string around the holes.
10 Decorate the hat.
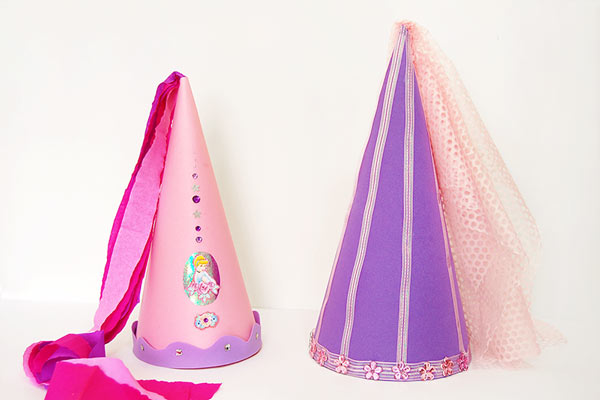
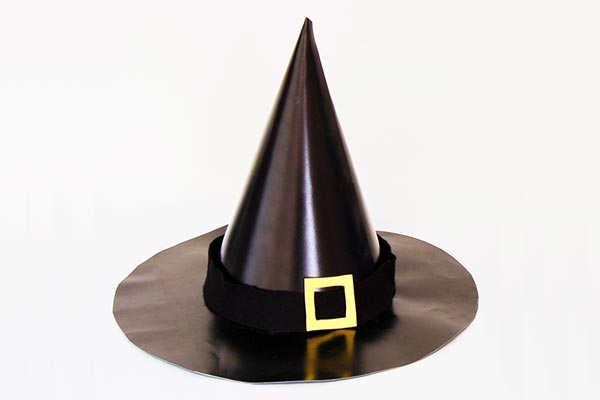
Decorate your tall cone hat into these fun hats:
More Ideas

Try other ways to make a cone hat.
Check out more ways to craft a cone hat: